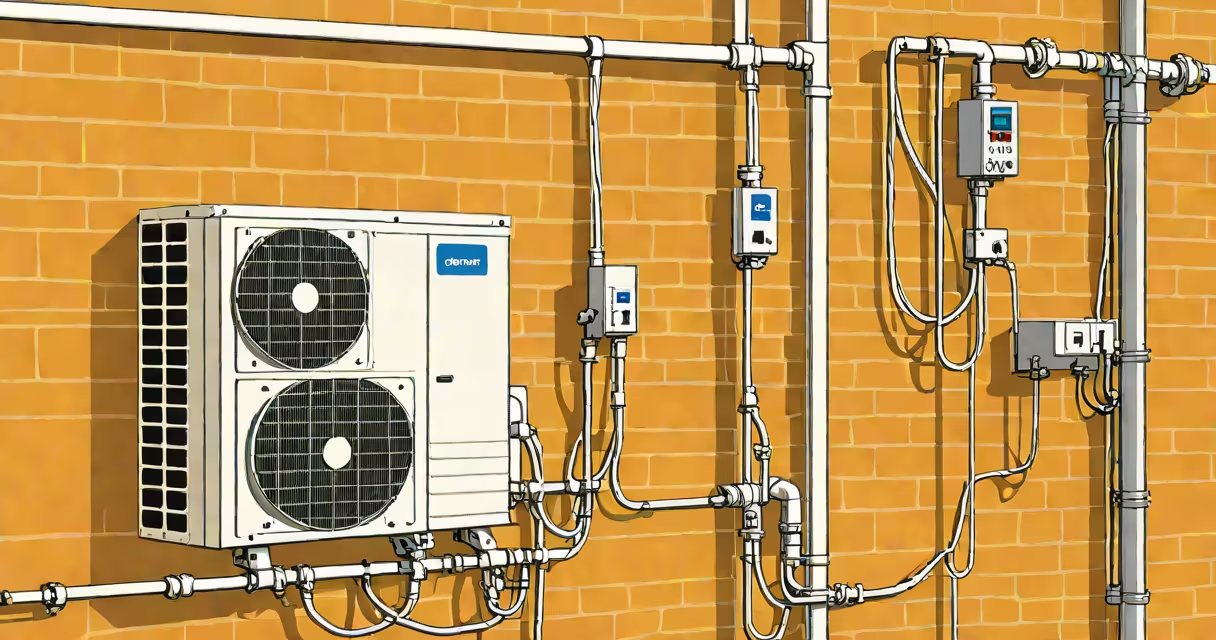
A do it yourself split ac system is a self-contained air conditioning setup with separate indoor and outdoor units connected by refrigerant lines and electrical wiring. It cools rooms by moving heat from inside your home to the outdoors using a compressor, evaporator coil, and condenser. Most models are designed for single-room use and can be installed without licensed HVAC certification.
These systems operate on the vapor-compression cycle. The indoor unit contains a fan and evaporator coil that absorbs heat from room air. The refrigerant carries that heat to the outdoor condenser, where it's released through a fan-cooled coil. The compressor pressurizes the refrigerant to move it between units. This process runs continuously until the thermostat reaches the set temperature.
Unlike central AC, which requires ductwork and extensive modifications, a do it yourself split ac system mounts on a wall or floor and uses minimal holes in your structure. It's ideal for homes without existing ducts, sunrooms, garages, or apartments where permanent installations aren't allowed. The average model draws 600-1,200 watts during operation and cools spaces between 300 and 1,000 square feet depending on BTU rating.
The system splits into two main parts: the indoor air handler and the outdoor condensing unit. The indoor unit pulls warm air from the room through a filter, passes it over the cold evaporator coil, then blows cooled air back out. The refrigerant absorbs heat as it flows through the coil, turning from liquid to gas.
This gaseous refrigerant travels through insulated copper tubing to the outdoor unit. There, the compressor increases pressure and temperature, forcing the refrigerant into a high-pressure state. The hot gas enters the condenser coil, where a fan pushes ambient air over it, releasing heat. As the refrigerant cools, it liquefies and returns to the indoor unit via a return line.
Each component relies on precise calibration. A 12,000 BTU unit typically uses R-410A refrigerant, which requires a leak test after connection. The electrical circuit includes a disconnect switch, thermostat control wire, and ground fault protection. Failure to bond the ground wire correctly can cause electrical shock or fire risk.
Split ac systems come in several configurations based on size, cooling capacity, and features. The most common are wall-mounted indoor units with a horizontal outdoor condenser. Some models offer vertical stacking for tight spaces, while others have built-in dehumidification and smart controls.
| Type | Cooling Capacity | Best For | Installation Difficulty |
|---|---|---|---|
| Wall-Mounted Indoor | 9,000-18,000 BTU | Bedrooms, offices, small living areas | Low to moderate |
| Mini-Split with Multiple Zones | 24,000 BTU+ | Whole-home cooling, large rooms | High |
| Portable Hybrid | 8,000-12,000 BTU | Temporary cooling, rentals | Very low |
Most do it yourself split ac systems use inverter-driven compressors. These adjust speed based on demand, reducing energy use by up to 30% compared to fixed-speed models. For example, a 12,000 BTU inverter unit consumes about 350 watts at low load versus 1,100 watts at peak. This efficiency translates to lower electricity bills and quieter operation.
Homeowners often select a do it yourself split ac system to avoid $800-$1,500 labor charges for professional installation. Many brands like Midea, Fujitsu, and Daikin sell kits with detailed instructions, pre-measured refrigerant lines, and step-by-step video guides. These kits include everything needed except a dedicated circuit breaker and wall anchors.
One key advantage is flexibility. You can place the indoor unit under a window or on a shelf, and the outdoor unit on a concrete pad or balcony. The maximum line length between units is typically 25 feet. Exceeding this reduces cooling efficiency by up to 15%, according to the Air Conditioning Contractors of America (ACCA).
I installed a 12,000 BTU Midea mini-split in my basement office last summer. I used a stud finder to locate wall studs, drilled a 2-inch hole through the exterior wall, ran the refrigerant lines and power cable through it, and secured both units with lag bolts. The entire process took me 4.5 hours, including testing for leaks. The system cooled the room from 82°F to 70°F within 12 minutes.
Many assume that "do it yourself" means "easy." That's misleading. While the hardware is straightforward, handling refrigerant requires skill. Improper charging causes poor cooling, short cycling, or compressor failure. The EPA mandates that only certified technicians handle refrigerants above 50 pounds, but even small leaks can trigger environmental penalties.
Another mistake is ignoring electrical safety. Most split ac systems require a 240-volt dedicated circuit. Connecting to a standard 120-volt outlet causes the compressor to overheat and fail. I've seen multiple online forums where users reported tripped breakers after plugging their units into kitchen outlets. Always verify the voltage and amperage requirements before connecting.
Some buyers confuse a do it yourself split ac system with portable AC units. Portable models use a single exhaust hose and don't require mounting. They're less efficient-typically 10-15% lower SEER ratings-and generate more noise. A 12,000 BTU portable unit may consume 1,400 watts, while a comparable mini-split uses 600 watts. The difference matters over time.
Before buying, measure your space. A 12,000 BTU unit suits rooms up to 500 sq ft. Larger spaces need higher BTU ratings. Use the rule of thumb: 20 BTU per square foot. For a 600 sq ft room, choose a 12,000 BTU or higher unit.
Essential tools include a level, drill with masonry bit, pipe cutter, vacuum pump, manifold gauges, and refrigerant scale. You'll also need a 240V outlet or a licensed electrician to install one. The refrigerant line kit should match the distance between indoor and outdoor units. Use only R-410A-compatible fittings and seals.
After assembly, evacuate the system with a vacuum pump for at least 30 minutes to remove moisture and air. Then charge the refrigerant using a scale. Overcharging by just 10% can reduce cooling performance by 25%. Follow the manufacturer's chart precisely. Test the system with a thermometer placed near the return air vent.
Installing a do it yourself split ac system saves money and gives control over placement and settings. It's not for everyone-especially those without basic electrical or plumbing experience-but it's feasible for mechanically inclined individuals who follow safety protocols. When done correctly, it delivers consistent cooling, quiet operation, and long-term energy savings.