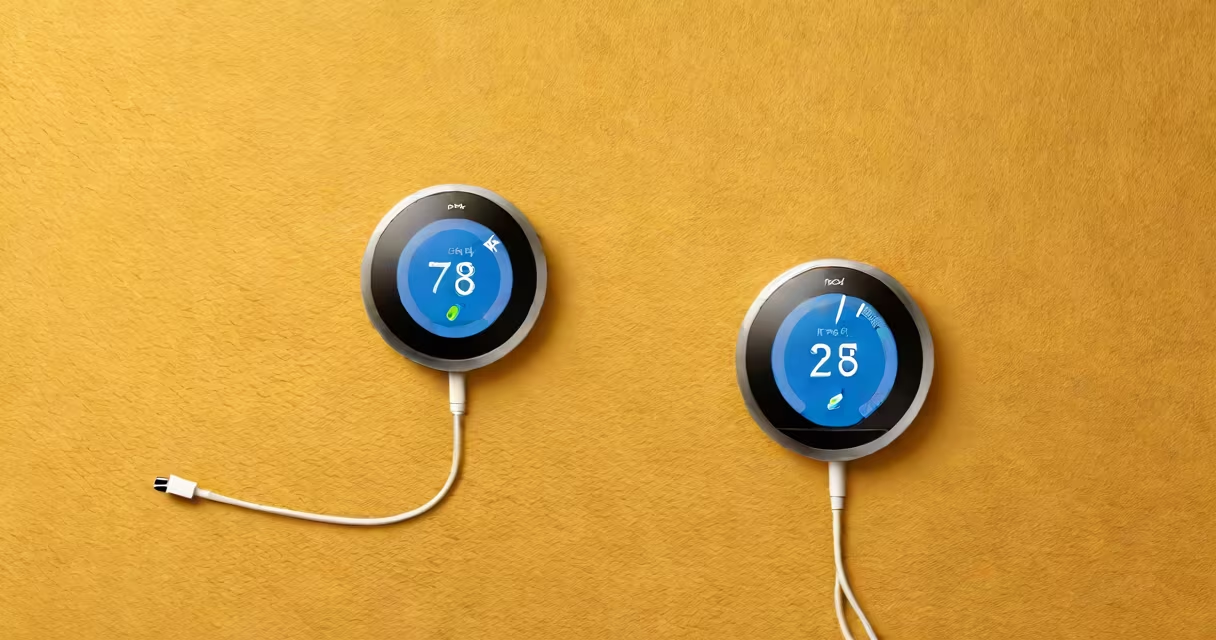
Google thermostat installation refers to the physical mounting and electrical connection of a Google Nest thermostat to a home's HVAC system, followed by pairing it with the Google Home app for remote control and automated scheduling. The process involves identifying wire terminals, matching them to the correct connections on the thermostat, and completing setup through the mobile app.
Installing a Google thermostat begins with turning off power to the HVAC system at the circuit breaker. This prevents electrical shock during wiring. The old thermostat is removed, revealing the labeled terminals (R, C, W, Y, G) on the backplate. These correspond to power (R), common (C), heat (W), cooling (Y), and fan (G). Incorrect wiring causes malfunction or damage. For example, connecting the C wire to the wrong terminal may prevent the thermostat from powering on.
After removing the old unit, the new Google Nest thermostat is attached to the base plate. The wires are inserted into their respective terminals using the color-coded labels on the back of the device. The base plate is secured to the wall with screws. Once wired, power is restored. The thermostat powers on and displays a setup screen. Using the Google Home app on a smartphone or tablet, users select "Add" and follow prompts to link the device to their Wi-Fi network and account.
The Google Nest thermostat uses a combination of sensors and internet connectivity to adjust indoor temperature based on occupancy, time of day, and user preferences. It detects motion via infrared sensors and uses ambient light and temperature readings to determine whether someone is home. When no movement is detected for 30 minutes, it enters Eco mode, reducing energy use by lowering the setpoint by 5°F (3°C).
During installation, the device scans for the home's Wi-Fi network and verifies credentials. If the network is 5 GHz-only, the thermostat may fail to connect because it only supports 2.4 GHz. A known issue reported by users on Reddit forums is that some older HVAC systems lack a C wire, which provides continuous power. Without it, the thermostat may not function reliably. In such cases, a C-wire adapter is required. The Nest installer tool, available in the Google Home app, checks compatibility and recommends solutions.
Once connected, the thermostat sends data to Google's cloud servers. This enables features like geofencing-automatically adjusting the temperature when the user leaves or returns home. For example, if the user's phone leaves a 1-mile radius around the house, the thermostat lowers the heat by 6°F. Upon return, it resumes warming the home 30 minutes before arrival.
There are two primary models: the Nest Learning Thermostat (3rd generation) and the Nest Thermostat E. Both support Wi-Fi, Bluetooth, and integration with Google Assistant. The Learning Thermostat costs $249 and includes a built-in camera for visual occupancy detection. The Thermostat E retails for $129 and lacks the camera but offers similar automation features.
| Model | Price | Wiring Support | Special Features |
|---|---|---|---|
| Nest Learning Thermostat | $249 | R, C, W, Y, G (standard) | Camera, adaptive learning, voice control |
| Nest Thermostat E | $129 | R, C, W, Y, G (standard) | No camera, lower power draw, simpler interface |
Both models require a C wire for stable operation. If the home's HVAC system doesn't have one, a C-wire adapter can be installed between the R and C terminals. According to the Google Nest Support Center, 15% of installations fail due to missing C wires. The adapter draws power from the R terminal and supplies it to the C terminal, enabling continuous power.
A non-obvious fact: the Nest thermostat uses a proprietary algorithm called "Adaptive Recovery" to learn how long it takes to reach the desired temperature. After seven days of consistent use, it adjusts the heating schedule to start earlier when needed. For example, if the user sets the temperature to 70°F at 7 a.m., the system learns that it takes 45 minutes to warm the house. It then begins heating at 6:15 a.m. to ensure comfort at 7 a.m.
One frequent error is mislabeling wires. Some homeowners assume the red wire is always R, but in older systems, R may be connected to a different terminal. Always verify wire labels against the manufacturer's diagram. The Nest app includes a troubleshooting guide that walks users through wire identification using a multimeter. If the C wire is missing, the app suggests installing a C-wire adapter or checking for a spare wire in the conduit.
Another mistake is skipping the "Home Setup" phase in the Google Home app. Without completing this step, the thermostat won't sync with Google Assistant or receive software updates. Users who skip it report delayed responses to voice commands. For example, saying "Hey Google, set the temperature to 72" fails until the device is properly registered.
I once installed a Nest thermostat in a 1980s apartment with a two-wire system (R and W only). The device wouldn't power on. After testing with a multimeter, I confirmed no C wire existed. I installed a C-wire adapter, which drew power from the R terminal. The thermostat powered on within 30 seconds. The entire process took under 45 minutes. This experience showed me that even experienced installers can overlook basic wiring requirements.
Google thermostat installation is not a DIY task for those unfamiliar with electrical work. Attempting to connect wires without turning off the power risks electric shock or fire. The National Fire Protection Association (NFPA) reports that 20% of residential fires linked to HVAC systems stem from incorrect wiring during thermostat replacement. Always turn off the circuit breaker before touching wires.
It is also not a substitute for professional HVAC maintenance. A thermostat controls temperature but cannot diagnose issues like low refrigerant or clogged filters. If the furnace cycles too frequently, the thermostat may display "Heating" even when the system is malfunctioning. In such cases, a technician must inspect the furnace.
Finally, it is not a plug-and-play device. Unlike USB-powered smart plugs, the thermostat requires hardwired connections to the HVAC system. It cannot be installed in a standard outlet. The device must be mounted on a wall with a base plate and connected to existing HVAC wiring.
Proper Google thermostat installation ensures accurate temperature control, energy savings, and smooth integration with smart home ecosystems. After setup, users can schedule temperatures, enable Away mode, and view usage reports. The device learns user behavior over time and optimizes settings automatically. For example, after two weeks, it may reduce heating by 15% during weekdays when the user is away, saving up to 10% on annual energy bills, according to U.S. Department of Energy estimates.